
PRODUCT CARE · 4 MIN READ
A Better Replacement Filter Routine Starts with the Model
How compatibility, visible buildup and everyday conditions shape a simpler filter-care habit.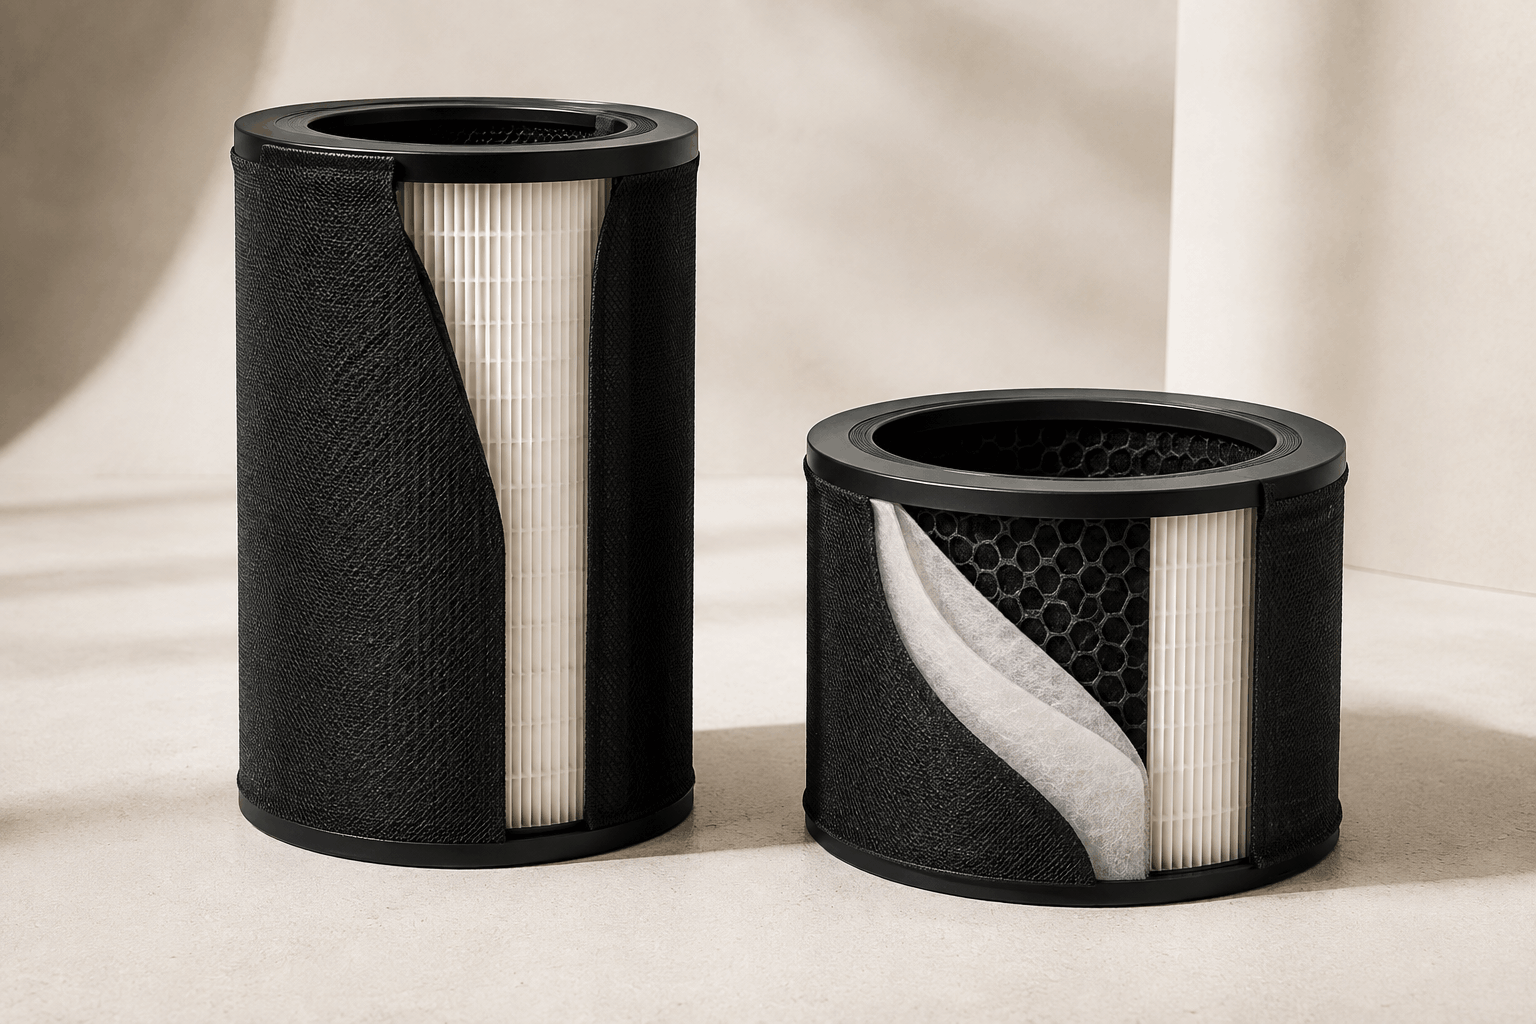
Replacement filters may look similar, but fit and construction are model-specific. A clear routine begins by identifying the purifier model, then checking the manufacturer’s guidance and the conditions in the room.
SECTION 01
Compatibility is the first specification
Match the exact purifier model before comparing price, pack size or filtration language. The correct dimensions and sealing surfaces help preserve the intended airflow path.
Keep the model name in a household note or photograph the label when the purifier is first set up. That small step makes the next replacement easier.
SECTION 02
Look at the room, not only the calendar
Manufacturer guidance provides the baseline. Homes with pets, frequent cooking, smoke events or heavier dust may create visible buildup sooner than calmer spaces.
Inspect accessible pre-filter surfaces as directed, keep vents free of dust and never wash a filter unless its product instructions specifically say it is washable.
- Follow the model-specific care guide
- Check for visible loading and persistent odor
- Keep intake and outlet vents unobstructed
SECTION 03
Make the routine easy to repeat
Store the compatible filter name with the purchase date and set a reminder to inspect rather than automatically discard. A simple record helps the household learn its own conditions over time.
When installing a replacement, remove all packaging, seat the filter in the correct orientation and reset the indicator only after the new filter is in place.
The most useful filter routine is specific, observable and easy enough to repeat without guesswork.